Sorting
Table of contents
Definition
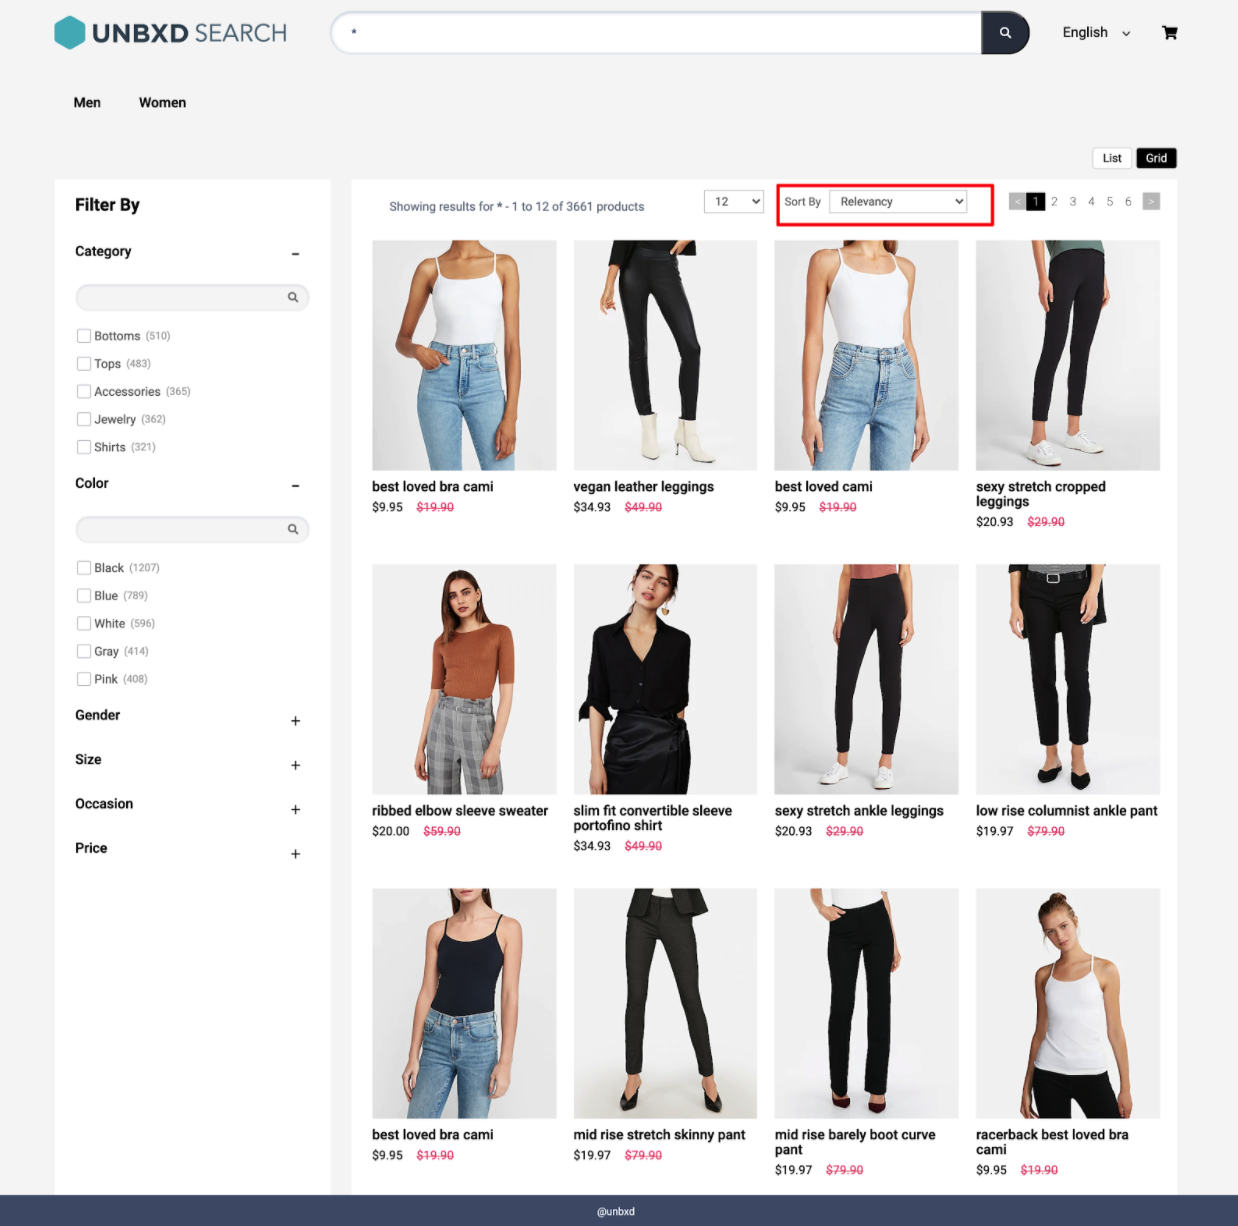
“Sort” functionality in an e-commerce page allows users to rearrange the products displayed on a search results or product listing page in a specific order. The sorting options provided by the e-commerce websites varies but the most common ones are:
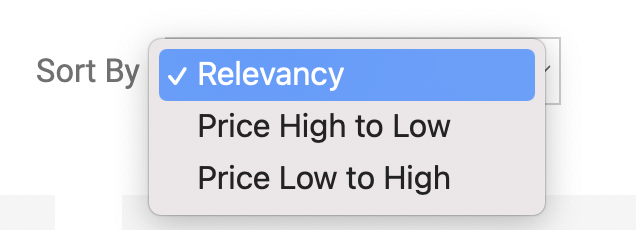
Sort by relevance: This is the default sorting option. It orders the products based on how well they match the search criteria or the filter settings.
Sort by price: This allows users to sort products by price, in either ascending or descending order.
Sort by popularity: This orders the products based on their popularity, like number of sales, views, or ratings.
Sort by newness: This orders the products based on their recency, usually the newest products are listed first.
Sort by Brand: This allow the users to sort products by brand name.
This functionality can help users quickly find the products that are most relevant or interesting to them, based on their specific needs and preferences. It allows users to quickly identify products in a particular price range, or newly added items, making it more convenient for them to find what they are looking for.
It is also common to find that e-commerce websites will have a default sort order when a user visits a category or search results, but also provides the user with a way to change and adjust the sort order as they wish.
Behavior
Sorting allows you to rearrange the search results based on certain fields in a particular order.
Configurations
The Configurations for Sorting needs to be added in the below block :
sort: {
    //Below configurations should be added here.
}
The following are the various options available under the object:
enabled
Boolean
The “enabled” option for sort refers to the ability to enable or disable the sorting component. When sort is enabled, the developer can use the sorting functionality to sort the data based on a specific criteria, such as alphabetical order or numerical value. When sort is disabled, the developer will not be able to use the sorting functionality.
Default Value
enabled: true
Scenarios
true- Allows to sort products.false- The Sorting component would not be visible.
el
Element
Required
The “element” option for sorting refers to the HTML element that is used to create the sorting UI. This option allows the developer to specify what type of HTML element should be used for sorting, such as a “select” element , “button” element etc.
Default Value
el: null
Scenarios
There are several HTML selectors that can be used to locate the banner element in an e-commerce page. For ex: getElementById, getElementsByClassName, getElementsByTagName, querySelector, querySelectorAll, getElementsByName, etc.
options
Array
The “options” in sorting refer to the different sorting criteria that the developer can use to sort the data. These options are typically defined as a list of sorting criteria, such as “ascending” or “descending” order, or sorting by different fields like “name” or “date”.
This accepts a list of objects, where each object needs to have “value” and “text”.
value: The value is the parameter which goes in payload.text: The text which appears as option on UI.
Default Value
[
    {
        value: "price desc",
        text: "Price High to Low"
    },{
        value: "price asc",
        text: " Price Low to High"
    },{
        value: "rating asc",
        text: " Rating Low to High"
    },{
        value: "rating desc",
        text: " Rating High to low"
    }
]
Scenarios
The sorting can be done based on different criterias such as based on name , pricing , brand , what’s new etc.
sortClass
String
CSS class name for the sort item. This class works in case of default template .To use in case of custom template , do not forget to add “sortClass” in custom template code .
Default Value
sortClass: “UNX-sort-item”
Scenarios
Any valid class name can be passed as a sort class name.
selectedSortClass
String
CSS class name for the selected sort item. This class works in case of default template .To use in case of custom template , do not forget to add “sortClass” in custom template code .
Default Value
selectedSortClass: “UNX-selected-sort”
Scenarios
Any valid class name can be passed as a selectedClass name.
template
Function
The “template” function here refers to the ability to change the look and feel of the sorting component . The function receives below two parameters :
selectedSort: the value of selected sort item in Ui is passed here .sortConfig: the sortConfig receives all the configuration value for sort like sortClass, options etc.
Expected return value: a string of HTML that will be used to render the sorting component on the webpage.
Default Value
template: function(selectedSort, sortConfig) {
    let optionsUI = "";
    const {
        options,
        sortClass,
        selectedSortClass
    } = sortConfig;
    const {
        UNX_unbxdSorter
    } = this.testIds;
    options.forEach((item) => {
        const {
            value,
            text
        } = item;
        if(value == selectedSort) {
            optionsUI += `<option value="${value}" class="${selectedSortClass}" selected>${text}</option>`;
        } else {
            optionsUI += `<option value="${value}">${text}</option>`;
        }
    })
    return [`<div class="UNX-sort-block">`,
        `<span class="UNX-sort-header">Sort By</span>`,
        `<label class="UNX-hidden" for="unxSortSelect">Sort By</label>`,
        `<select data-test-id="${UNX_unbxdSorter}" name="unxSortSelect" data-action="changeSort" id="unxSortSelect" class="${sortClass}">`,
            `<option value="">Relevancy</option>`,
            optionsUI,
        `</select>`,
    `</div>`].join('')
}
Scenarios
For additional information on custom scenarios, please refer to the use cases section located below.
action
String
Action on which the sorting will trigger .
Default Value
action: "change"
Scenarios
-
click: Click refers to a user interaction where a user clicks on a specific button or interface element to initiate a sort operation. -
change: Change refers to a sort operation that is initiated when a specific variable or data element is changed.
tagName
String
“tagName” refers to the name of an HTML tag used to wrap or structure the content on a webpage.
Default Value
tagName: "div"
Scenarios
Any valid html tag such as div, span, p, h1, h2, etc in which you like the banner code to be wrapped in.
htmlAttributes
Object
“htmlAttributes” refers to a set of key-value pairs that provide additional information or properties for an HTML element. By default it contains classes for the wrapper. You can add more classes or any valid attributes.
Default Value
{
    class: ”UNX-sort-block-lb”
}
Scenarios
Any valid html attribute can be passed as key : value pairs inside an object.
Data-actions
data-action
Actions mentioned below needs to be added as data-action attribute.
changeSort- This is needed on the sort wrapper to identify the sort ha been changed.clearSort- This action resets the sort , and fetches products accordingly.
Usecases
Usecase 1: Sorting with dropdowns
Using dropdown menus for sorting products in an ecommerce site offers a more compact and space-efficient way to present a wider range of sorting options. When users click on the dropdown menu, a list of available sorting criteria expands, allowing them to choose from options like “Price,” “Popularity,” “Release Date,” or “Relevance.” This format is useful when there are numerous sorting options to choose from, as it keeps the interface clean and organized. Users can select their preferred sorting option from the dropdown list, and the product listing will update accordingly.
sort: {
   el: document.getElementById("sortWrapper"),
   selectedSortClass:'UNX-selected-sort',
   sortClass:'UNX-sort-item',
   options:[{
        value:"price desc",
        text:"Price High to Low"
    },
    {
        value:"price asc",
        text:" Price Low to High"
    }],
   action:'change',
   template:function(selectedSort, sortConfig) {
        let optionsUI = "";
        const {
            options,
            sortClass,
            selectedSortClass
        } = sortConfig;
        const {
            UNX_unbxdSorter
        } = this.testIds;
        options.forEach((item) => {
            const {
                value,
                text
            } = item;
            if(value == selectedSort) {
                optionsUI += `<option value="${value}" class="${selectedSortClass}" selected>${text}</option>`;
            } else {
                optionsUI += `<option value="${value}">${text}</option>`;
            }
        })
        return [`<div class="UNX-sort-block">`,
            `<span class="UNX-sort-header">Sort By</span>`,
            `<select data-test-id="${UNX_unbxdSorter}" data-action="changeSort" id="unbxdSorter" class="${sortClass}">`,
                `<option value="">Relevancy</option>`,
                optionsUI,
            `</select>`,
        `</div>`].join('')
    },
},
Usecase 2: Sorting with Buttons
In the ecommerce site, sorting products using buttons provides a convenient and visually appealing way for users to select their desired sorting option. Each button represents a specific sorting criteria, such as “Price Low to High,” “Price High to Low,” “Newest First,” or “Customer Ratings.” Users can simply click on the button corresponding to their preference, and the product listing will update accordingly. Buttons are especially effective when there are only a few sorting options available, as they allow for quick and easy selection without overwhelming the user with too many choices.

 sort: {
    el: document.getElementById("sortWrapper"),
    options: [
      {
        value: "sortPrice desc",
        text: "Price High to Low"
      },
      {
        value: "sortPrice asc",
        text: " Price Low to High"
      }
    ],
    action: "click",
    template: function (selectedSort) {
      var sortBtnsUI = "";
      var self = this;
      this.options.sort.options.forEach(function (item, index) {
        var selectedCss = "";
        if (item.value === selectedSort) {
          selectedCss = self.options.sort.selectedSortClass;
        }
        sortBtnsUI += [
          '<div class="btn UNX-sort-btn ' +
            self.options.sort.sortClass +
            " " +
            selectedCss +
            '"',
          'data-value="' +
            item.value +
            '" data-action="changeSort"> ' +
            item.text +
            "</div>"
        ].join("");
      });
      return sortBtnsUI;
    }
  }
Usecase 3: Sorting with Radio Buttons
Radio buttons are another effective method for sorting products in an ecommerce site. They present a set of exclusive options, allowing users to choose only one sorting criteria at a time. Users can see all the available sorting options listed next to individual radio buttons, such as “Best Selling,” “Featured,” “Average Customer Review,” or “Discount.” When a user selects a radio button, the product listing immediately rearranges based on the chosen criteria. Radio buttons are particularly useful when the available sorting options are distinct and mutually exclusive, allowing users to make a clear and single choice for their preferred sorting order.

sort: {
        enabled: true,
        el: document.getElementById("sortWrapper"),
        options: [ {
            value: "price desc",
            text: "Price High to Low"
        },
        {
            value: "price asc",
            text: " Price Low to High"
        }],
        action: "click",
        template: function (selectedSort, sortConfig) {
            let optionsUI = "";
            const { options, sortClass, selectedSortClass } = sortConfig;
            const { UNX_unbxdSorter } = this.testIds;
            options.forEach((item) => {
                const { value, text } = item;
                if (value == selectedSort) {
                    optionsUI += `<input type="radio" checked value="${value}" data-action="changeSort" class="${selectedSortClass}"  >${text}</input>`;
                } else {
                    optionsUI += `<input type="radio"  value="${value}" data-action="changeSort" >${text}</input>`;
                }
            });
            return [
                `<div class="UNX-sort-block">`,
                    `<span class="UNX-sort-header">Sort By</span>`,
                    `<label class="UNX-hidden" for="unxSortSelect">Sort By</label>`,
                    `<div data-test-id="${UNX_unbxdSorter}" name="unxSortSelect"  id="unxSortSelect" class="${sortClass}">`,
                        optionsUI,
                    `</div>`,
                `</div>`,
            ].join("");
        }
    }
FAQs
- How do I allow users to sort the search results on my website?
- Can I set a default sorting criteria for the search results?
- How does the Unbxd handle multiple sorting criteria?